How to Fish Island Unlock Progression Guide
Updated August 31, 2026
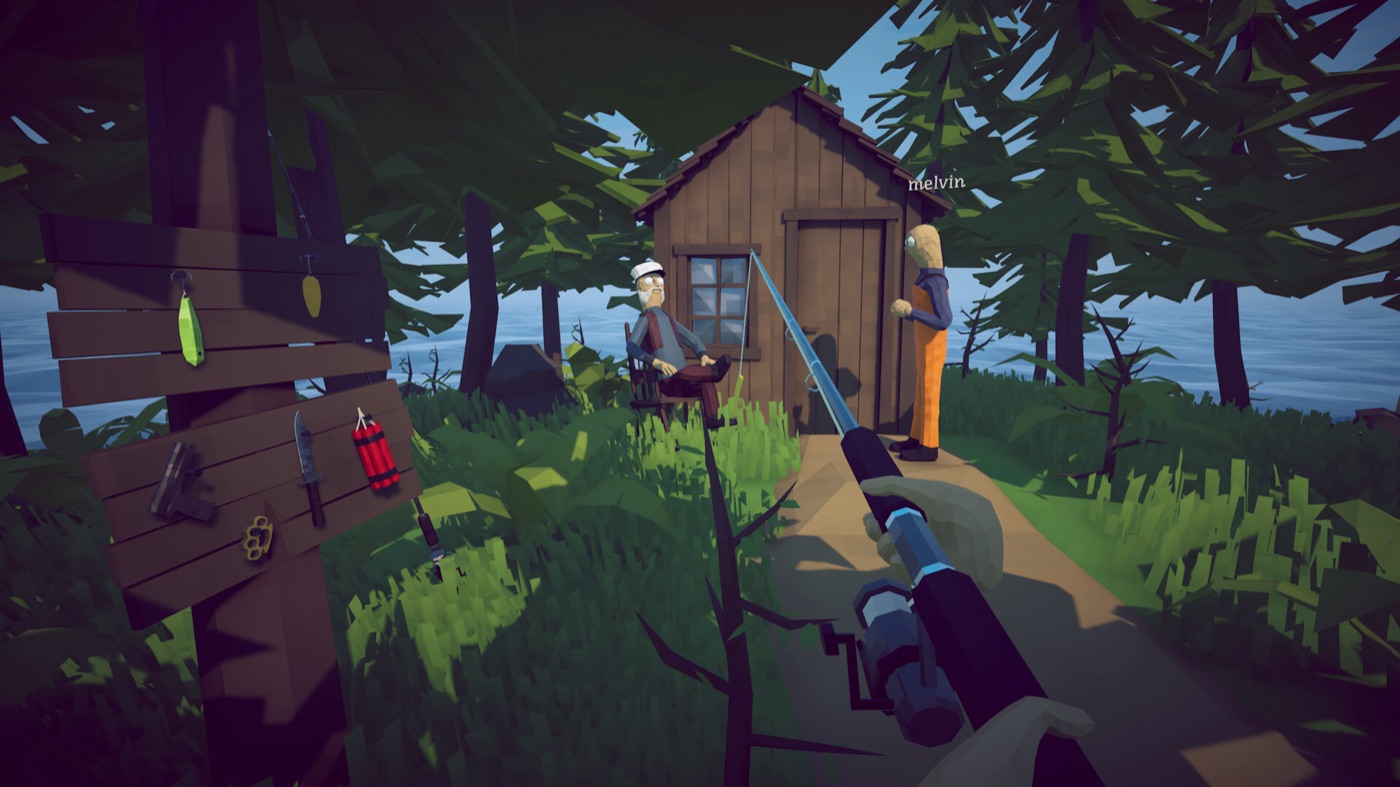
A new island is a quest reward, not a reward for catching a certain number of fish.
The route through How to Fish is fixed: Lighthouse → Forest → Desert → Rocks → Volcano. The Lighthouse is your starting point; each later island opens when you finish the current island's NPC quest, summon its story boss with the correct bait, and return the boss drop. This guide keeps that chain in order while answering the two questions that matter before every departure: which bait advances the quest, and how much gear should you buy before sailing on?
How Island Unlocks Work
Ordinary fishing earns the money that supports progression, but it does not unlock destinations by itself. Every gate has two important items: a summoning bait that starts the required encounter and a quest drop that must go back to an NPC. Protect both. Selling or grilling a required body, skeleton, fin, or head can force you to summon and fight the boss again.
Regular lures and Boss Lures are different from quest bait. Regular lures fill your wallet. Most Boss Lures summon optional mini-bosses. Quest bait comes through an NPC objective and advances the story. The major exception is Rocks: its Professional Boss Lure catches the Tuna whose body is required to lure the Albatross.
Unlock Route at a Glance
| Island | Regular Bait | Progression Bait | Item That Advances the Route |
|---|---|---|---|
| 1 · Lighthouse | Free Lure; Hot Dog | Empty Beer Can | Spider Crab meat → Lighthouse Keeper → boat keys |
| 2 · Forest | Free Lure, Beginner Lure, Hot Dog | Modified Leech | Giant Piranha skeleton → lake woman → Desert coordinates |
| 3 · Desert | Standard Lure | Carrot | Pufferfish fin → Tourist → Rocks coordinates |
| 4 · Rocks | Professional Lure | Tuna body | Albatross head → shop NPC → Volcano coordinates |
| 5 · Volcano | Scientific Lure ($500) | Fish Bucket, then Bowhead Whale body | Final boss fin → hazmat NPC → military boat key |
Island 1 · Lighthouse: Unlock the Boat
Your first budget is tiny, so keep it focused. Pick up beach clams to manage hunger and throw extras to the Lighthouse Keeper for cash. Buy the Basic Fishing Rod for $3, then use the Free Lure for Brown Crab and Shrimp. Hot Dogs cost $1 and catch Rock Crab and Lobster, but they are income bait, not the key to leaving.
- Buy and prepare a knife. Sharpen it at the anvil beside the lighthouse door to raise its damage to 20.
- Buy a Beer Can. Give it to the Lighthouse Keeper; he drinks it and returns the Empty Beer Can.
- Cast the Empty Beer Can. It summons the Spider Crab. Defeat the boss and keep its meat.
- Return the crab meat. Give it to the Keeper to receive the boat keys.
Safest departure plan: the rod, sharpened knife, Beer Can quest, and boat keys come first. Buy the $10 Radar before making the trip. Lighthouse catches sell for only $3–$9, so buying piles of food bait or optional gear here delays the move for little benefit.
Island 2 · Forest: Find the Right Leeches
The Forest expands the bait pool, but you do not have to replace everything immediately. The Free Lure still catches Mackerel and Gar, and it also works for Pike and Goldfish; Hot Dog remains useful for Piranha. Add Beginner Lures for the wider Forest pool, then direct your savings toward the shotgun. It is the strongest general-purpose mid-game purchase in the established gear path and handles both the boss and its minions.
- Talk to the woman by the lake. Her quest asks for three leeches.
- Search the forest floor. The leeches are lying on the ground, not swimming in the water.
- Return all three leeches. The lake woman gives you the Modified Leech.
- Cast the Modified Leech. Defeat the Giant Piranha, clear its summoned minions, and keep the skeleton.
- Return the skeleton. The lake woman gives you the Desert coordinates.
Safest departure plan: arrive with the sharpened knife, stretch the old lures wherever they still work, and buy the shotgun before spending on curiosities. The Beginner Boss Lure catches the optional Sunfish and The Old Pike, while Dynamite is also unnecessary for the story. Both can wait when money is tight.
Island 3 · Desert: Unlock the Grill Before Rocks
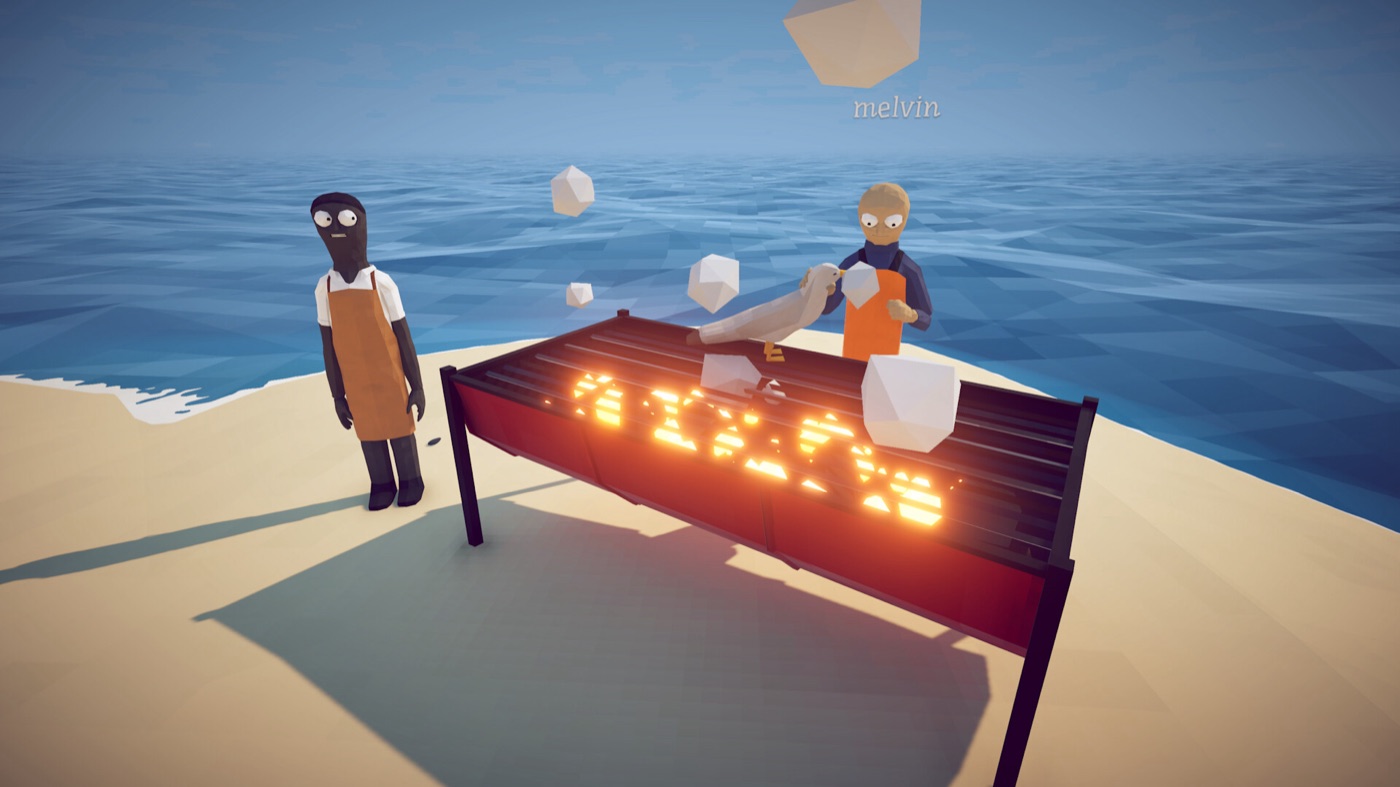
The Standard Lure funds both Desert quests: better income first, then the Needlefish trade.
Standard Lures cover the Desert's regular pool, so this island is easier to budget than the Forest. Bring several and keep the shotgun ready. Before chasing the route boss, complete the valuable side quest: use a Standard Boss Lure to catch and defeat the Blue Shark, then speak to the NPC beside the grill. The lighter lets you cook fish for a permanent 1.5x sell multiplier on every island.
- Catch a Needlefish. Use a Standard Lure and keep the fish instead of selling it.
- Find the Tourist under the tree. Give him the Needlefish to receive the Carrot.
- Cast the Carrot. No ordinary or Boss Lure substitutes for it; the Carrot summons the Pufferfish.
- Defeat the Pufferfish. Keep your distance from its rolling attack and retain the fin.
- Return the fin to the Tourist. He gives you the coordinates for Rocks.
Safest departure plan: unlock the grill first, cook every sale catch, and leave with a reserve for Professional Lures, a Professional Boss Lure, and a ranged weapon. An Uzi or Sniper Rifle is recommended for the coming Albatross fight. This is also the sensible time to buy the Radar upgrade so the unit can sit on the boat instead of occupying your hands.
Island 4 · Rocks: Turn a Tuna Into Boss Bait
Every regular Rocks catch takes the Professional Lure and has a base value between $250 and $380. With the grill already unlocked, this is the safest place to build the late-game bankroll. Farm regular fish until you can comfortably afford the Professional Boss Lure and your ranged weapon; do not count the first Tuna as profit.
- Cast a Professional Boss Lure. It summons the Tuna mini-boss.
- Defeat the Tuna. The shotgun remains effective for this close encounter.
- Keep the Tuna body. Although its base sell value is $2,000, place the required body on the ground instead.
- Wait for the Albatross. It swoops down to take the Tuna. Fight it at range with the Uzi or Sniper Rifle.
- Return the Albatross head. Feed it to the shop NPC to receive the Volcano coordinates.
Safest departure plan: pay for the progression lure and ranged weapon by grilling regular Rocks catches. Extra Tuna can become income after the quest requirement is covered, but selling the first one only creates another lure purchase and another fight.
Island 5 · Volcano: Prepare for the Final Encounter
Volcano regulars use Scientific Lures, which cost $500 each, but their base values rise to $1,360–$1,700. Keep grilling sale catches and reserve enough cash to continue fishing while buying and upgrading an Assault Rifle. The $5,800 Scientific Boss Lure only summons the optional Goblin Shark; it is not part of the route to the ending.
- Feed the hazmat NPC five native Volcano fish. Hand them over one at a time. The fifth hand-in rewards the Fish Bucket.
- Cast the Fish Bucket. It summons the Bowhead Whale. Use an upgraded Assault Rifle and move away when the whale takes to the air.
- Keep the Bowhead Whale's body. Carry it up the wooden planks and throw it into the volcano crater.
- Fight the Mutated Bowhead Whale. The final boss can defeat you in two hits, so bring healing items and keep moving through its lava attacks.
- Return the final fin. Give it to the hazmat NPC for the military boat key, then sail to the mainland.
Safest final plan: treat the five NPC hand-ins and the Bowhead body as progression costs, not inventory for sale. Farm the regular Scientific pool for money, defer the optional Goblin Shark, upgrade the Assault Rifle a couple of times, and stock healing before throwing the whale into the crater—the final encounter begins immediately.
Safe Spending Checklist
- Farm the highest island you have unlocked. Regular sell values rise sharply with each destination.
- Buy for the next gate, not the whole shop. The practical gear order is Basic Rod → sharpened knife → Radar → shotgun → Uzi or Sniper Rifle → upgraded Assault Rifle.
- Unlock the grill early on Desert. Its 1.5x multiplier improves every later farming session.
- Delay optional Boss Lures. The Forest mini-bosses and Volcano's Goblin Shark can wait; the Rocks Tuna is required.
- Separate sale catches from quest items. Spider Crab meat, Giant Piranha skeleton, Pufferfish fin, the required Tuna, Albatross head, Bowhead body, and final boss fin all have jobs in the route.
- Keep hunger and healing covered. A longer boss fight is a poor place to discover that every dollar went into bait.