How to Fish All Bosses
Last verified: September 6, 2026
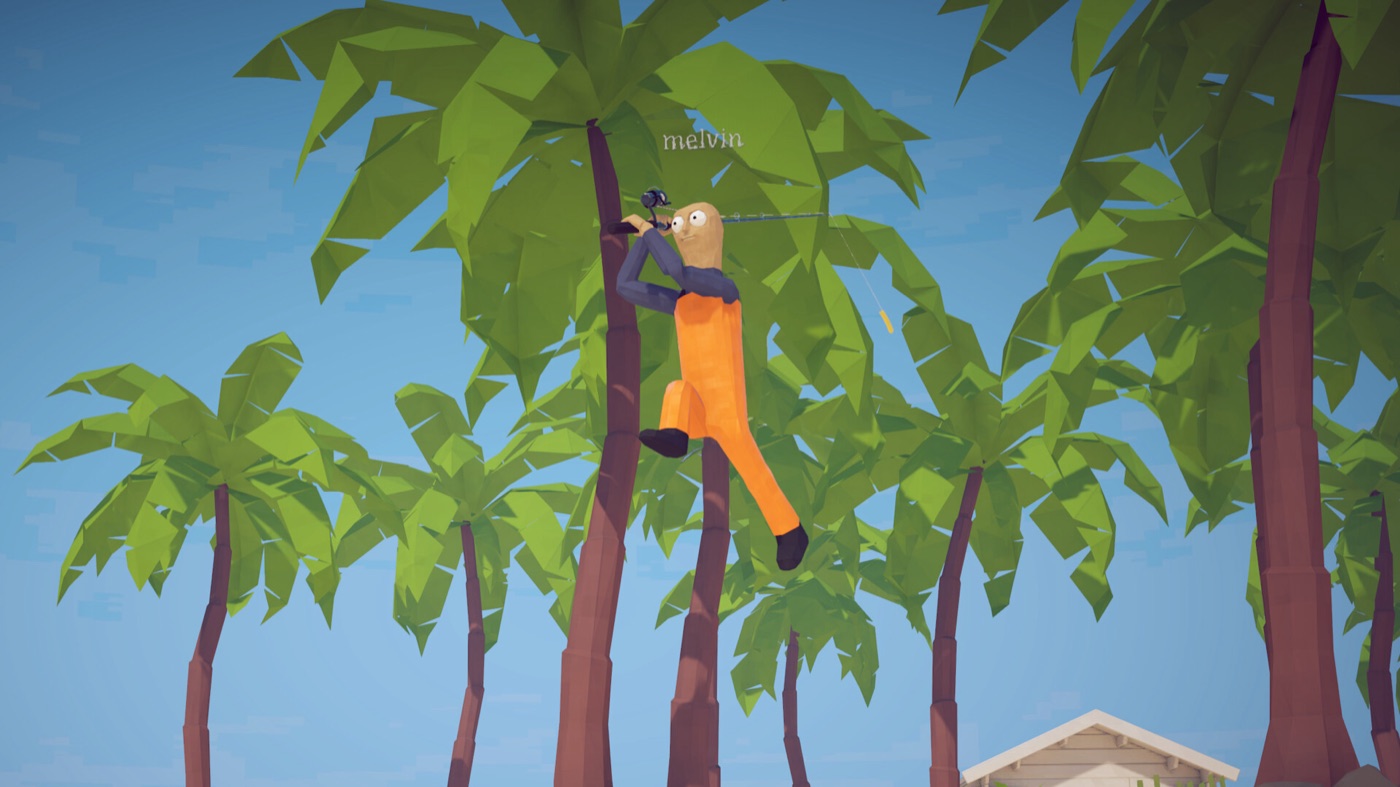
Five story bosses, five mini-bosses — every one of them is beatable with the right bait and a plan.
There are ten bosses in How to Fish: five story bosses that gate island progression, and five optional mini-bosses worth hunting for money and collections. This guide covers every one — how to summon it, how to fight it, and what it drops.
How Boss Fights Work
- Bosses need special bait. Story bosses take quest baits (unique NPC items); mini-bosses take Boss Lures. Ordinary lures never summon them.
- Watch the white bar. Every boss has an escape bar under its health pool. If it drains, the boss flees and you restart at full health — stay aggressive.
- Don't sell the drops. Every story boss drops a quest item that unlocks the next island. Grilling or selling it means fighting the boss again.
- Loadout matters more than aim. The shotgun handles most ground bosses; ranged weapons win the flying fights; the assault rifle is best for the whales.
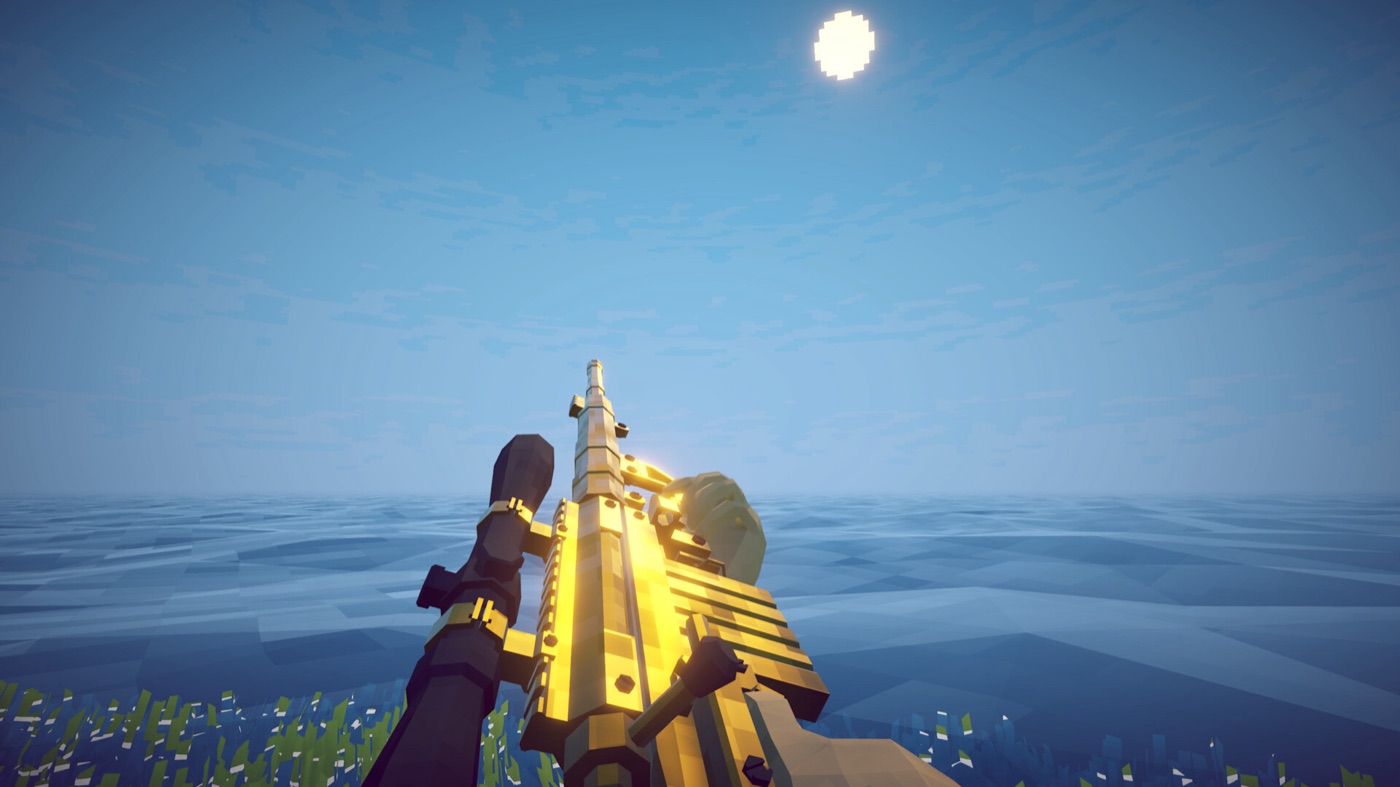
Every boss has a lure it can't refuse — and a white bar you must not ignore.
Story Bosses
These five are mandatory — each one's quest drop unlocks the next island, in order.
1. Spider Crab — Island 1, Lighthouse
Summon: Equip the Empty Beer Can (buy a Beer Can, give it to the Lighthouse Keeper, he returns it empty) and cast.
Fight: The easiest boss in the game. Don't run far — at range it jumps, and the jumps waste time. Bait its charging attack, step sideways as it misses, then punish the stun with 2–4 hits. Repeat.
Drop: Crab meat → feed the Keeper → boat keys.
2. Giant Piranha — Island 2, Forest
Summon: The Modified Leech from the woman by the lake (collect three leeches from the forest floor — not the water — and return them).
Fight: It doesn't fight alone. Kill the summoned minions first — they're weak but make the arena chaotic. The shotgun handles both the minions and the boss. Mind the escape bar and your hunger during this longer fight.
Drop: Skeleton → feed the lake woman → Desert coordinates.
3. Pufferfish — Island 3, Desert
Summon: The Carrot from the Tourist's quest (catch a Needlefish, give it to him). No other bait works.
Fight: The first genuinely dangerous boss. It rolls after you like a wrecking ball — keep distance, fire two shots, then relocate in the opposite direction. It chases where you were, giving you clean windows. Repeat until it pops.
Drop: Fin → give to the Tourist → Rocks coordinates.
4. Albatross — Island 4, Rocks
Summon: You can't hook it with a rod. Catch the Tuna mini-boss (Professional Boss Lure), defeat it, and place its body on the ground — the Albatross swoops down to take the bait.
Fight: A ranged fight. Use the Uzi or Sniper Rifle — the shotgun's spread wastes shots at this distance. Stay under cover when it's far: its ranged attack is literally droppings, and yes, it damages you. Shoot while it reloads.
Drop: Head → feed the shop NPC → Volcano coordinates.
5. Bowhead Whale — Island 5, Volcano
Summon: The Fish Bucket from the hazmat NPC (feed him five native Volcano fish, one at a time).
Fight: Buy the Assault Rifle and upgrade it before this fight. The whale itself isn't very dangerous — but when it takes to the air, run as far as you can until it lands. Then resume fire.
Drop: The whale's body — don't sell it. Carry it up the wooden planks and throw it into the volcano crater.
6. Mutated Bowhead Whale — Final Boss, Volcano
Summon: Throw the Bowhead Whale's body into the volcano. The final encounter begins immediately.
Fight: Bigger, tougher, and two hits can kill you. It spits lava from its body — getting caught in the spray burns hard. Stock healing items and consider a trip to the military base first. Keep moving, heal between volleys, and unload the upgraded assault rifle when it's safe. In Patch 1.0.12, explosives can also damage the boss when it lands on its tail.
Drop: Fin → feed the hazmat NPC → key to the military boat → sail to the mainland → credits.
Optional Mini-Bosses
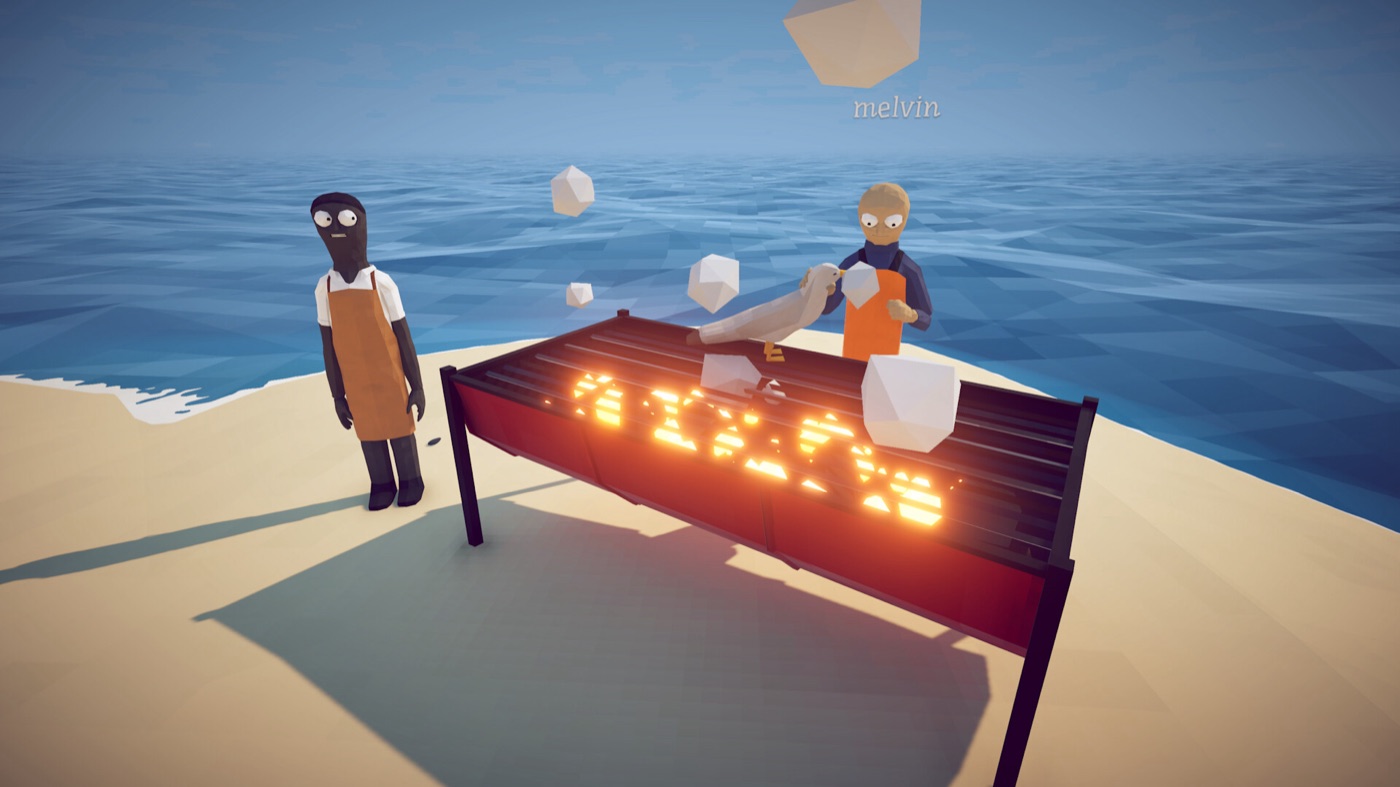
Mini-bosses don't gate the story — but they pay the bills.
None of these block progression, but all five count toward the Collector achievement and pay well. Each takes its island's Boss Lure tier.
| Mini-Boss | Island | Bait | Value | Notes |
|---|---|---|---|---|
| Sunfish | 2 · Forest | Beginner Boss Lure | $50 | Easy introduction to boss fights. |
| The Old Pike | 2 · Forest | Beginner Boss Lure | $80 | Same lure as Sunfish — farm both in one session. |
| Blue Shark | 3 · Desert | Standard Boss Lure | $300 | Do this one first — killing it unlocks the grill (1.5x sell price). Spiral attack: keep moving sideways. |
| Tuna | 4 · Rocks | Professional Boss Lure | $2,000 | Throws itself at you — dodge the leap, shotgun the landing. Keep one body for the Albatross quest. |
| Goblin Shark | 5 · Volcano | Scientific Boss Lure | $6,200 | Fully optional and expensive ($5,800 lure) but the highest-value catchable creature in the game. |
Fast Boss Kills
There's an achievement for killing a boss in under 10 seconds, and the trick is the same for every early boss: sharpen your knife to 20 damage before the Spider Crab, carry the shotgun for the Giant Piranha and Pufferfish, and pre-position yourself right next to where the boss spawns so the fight starts with you already in melee range. The speedrun achievement (finishing the whole game fast) skips most bosses entirely — the final boss is reachable in about an hour if you focus only on the quest chain.
Every boss's bait requirements and island context also live in the bait guide and the walkthrough — this page is the fight club; those are the map.